
Macro Photography
Macro
Before you start shooting any and everything that looks like it might be interesting when really close up, it is best to know about the “rules” and camera settings that will help to enhance your macro photos.
While taking macro photos, you want to do everything you can to keep your camera, as well as your subject steady for the sharpest photos possible.
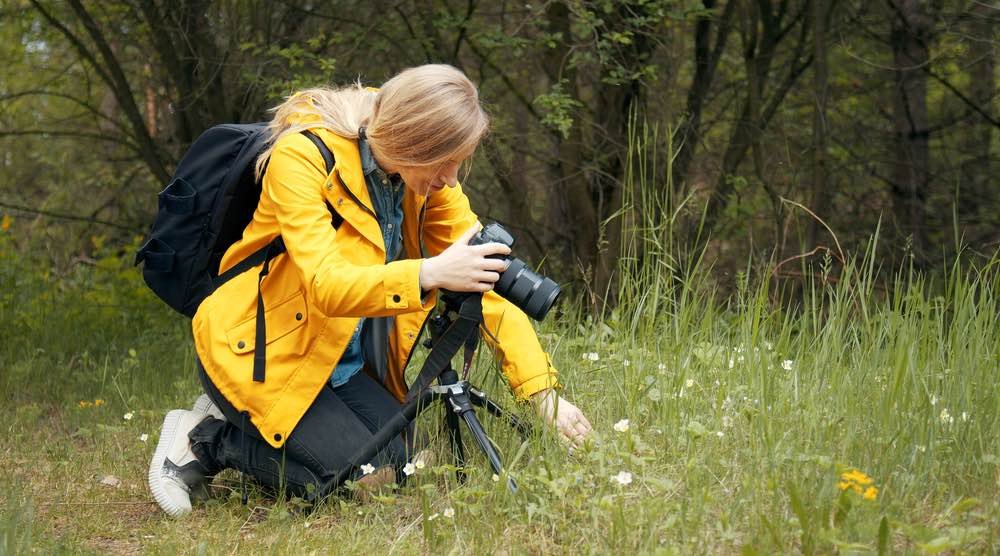
1. Use a Tripod
If there’s one rule of macro
2. Use a Shutter Release
Using a wired cable shutter release or a wireless trigger will allow you to take the shot without touching the camera. If you don’t have either, you can set your camera’s self-timer to take the shot, but be sure to set it to 2 seconds instead of 10, or you will feel like shooting the image takes forever.
3. Equipment
As with any job, the equipment is half the battle. The choice of camera equipment is a personal one, but there are some general tips that can help you choose what works best for you. At a minimum, you’ll need the camera body, a macro lens, a light diffuser, a reflector, and a tripod. That sounds like a lot, but it’s not as much as you think.
You can use a couple of pieces of white and wax paper for light reflectors and diffusers. If you choose a lightweight tripod, that just leaves your camera with the macro lens attached–usually a 100mm macro lens works best–and perhaps an infrared (IR) wireless shutter release or a trigger cable. The heaviest part of your equipment is likely to be the camera (with the lens) itself.
4. Planning
If you are shooting outdoors, you’ll want to consider weather conditions and the time of day that works best for your shoot. Early morning and late afternoon are times when the light is softer than what you’ll encounter at midday, but the end of the day has a warmer light. It really depends on what you’re hoping to accomplish, but these are things to consider so that you can be properly prepared.
5. Composition
After the planning and with equipment in hand, you’ve now arrived at the subject. You’re ready to begin shooting. But, before you begin, you now need to consider the composition of your shots. Following the rule of thirds by offsetting your main subject and making good use of negative space can create an interesting image.
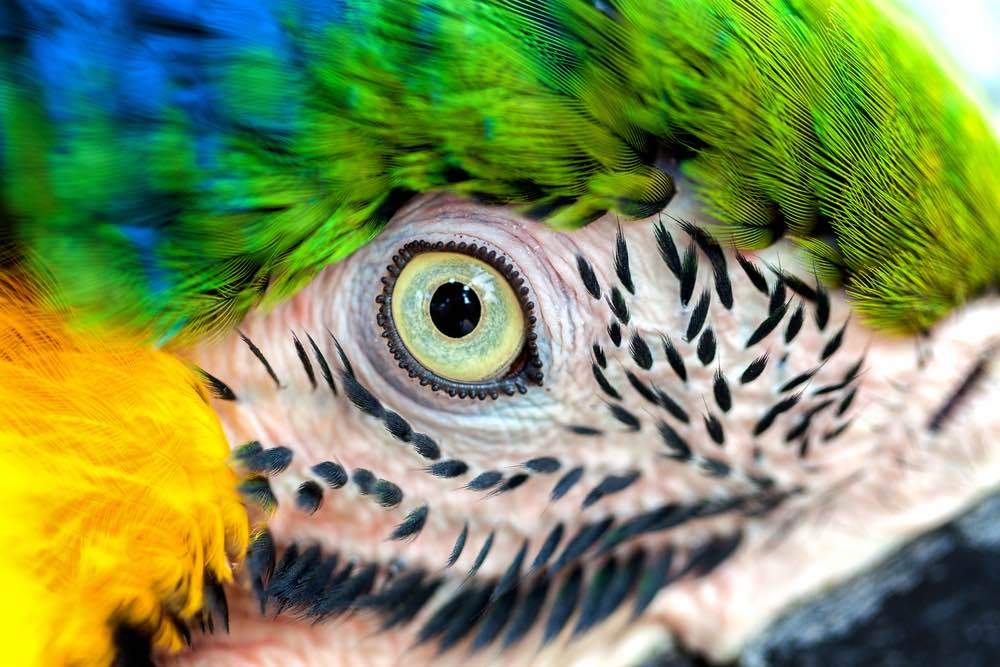
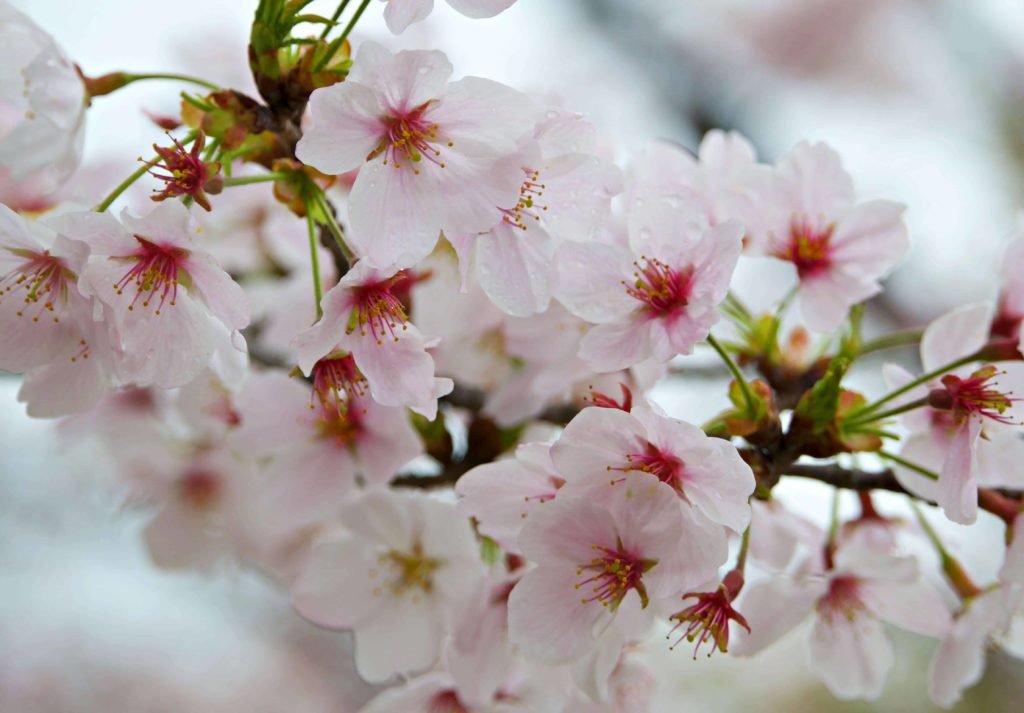
You’ll also want to consider the angle of your shot as well. You might, for example, decide to shoot down inside the petals if you are photographing a flower. By increasing the magnification, you can create not just a photograph of a flower but a true abstract work of art. However, sometimes it’s better to avoid any angling of the camera and take a straight-on shot instead of up or down.
6. Light Control
Light control is one of the most important considerations for macro
If sunlight just isn’t enough or isn’t quite right, you can also resort to artificial light to enhance the shot. LED lighting is now the main source of continuous photographic lighting. For the purpose of macro
If LED lights are not enough, you can also use flash lighting. It’s more powerful and usually overpowers natural light, but it allows you to freeze movement, and in the case of insufficient light, you can create images that would otherwise be impossible.
7. Camera Settings – Depth of Field and Shutter Speed
The settings you choose play a vital role in getting the perfect shot. Controlling the distance between the nearest and furthest objects in focus in your scene can help you create a unique, interesting image. For example, you can achieve better background separation and a cleaner composition with a shallower depth of field. To do this, you can play with your f stops to see which works best for your particular shot.
If you are close to your subject, you’ll usually want to stop your lens down (increase the aperture number) to f/16, or even f/22. Doing so will usually require you to lower your shutter speed or raise the ISO–i.e., your camera’s sensitivity to light–to compensate for the smaller lens opening.
Your shutter speed is important for freezing the action. It might not seem like there’s much action, but even the slightest breeze can blur your image.
It might even be worth backing up a bit and cropping the image closer in post-production. The megapixels of modern digital cameras allow for aggressive cropping without sacrificing the quality of the image.
Some of those rules rely on your creativity and ability to plan to get the image you want. Making sure you have the right equipment, including a tripod and light reflectors/diffusers, is essential to creating good macro images. But your creativity in composing your shots and adding details (like water beads) is also essential. You also need to have a good basic understanding of the camera settings.
Adjusting your depth of field and shutter speed will help you create interesting images. Additionally, controlling the light by using reflectors/diffusers and even artificial light will add texture and volume to your photographs.
One of your biggest problems or enemies is the wind. Even if you don’t feel the wind, it is there, affecting your shot. To help you see what wind there is, even the wind you can’t feel, look through your macro lens, and you’ll see the blur the wind causes.
Also, every macro lens has a sort of “sweet spot” where the focus is at its prime, and you can get the sharpest picture. Find your lens spot, and you will be off to a great start.


Hello-I’m trying to learn what I believe is commonly called “product” photography. I just bought a dSLR and a humongous macro lens. Can you offer any tips as to lighting, angles, placement, etc? Thanks.
Great tips and would like to add that the choosing time of day taking marco shoot with a point and shoot camera is also important as the amount of light available play a great part in composing great macro shot. Built in flash in most point and shoot cameras is not so advance compare to DSLR…
Great goods from you, man. I have understand your stuff previous to and you’re just extremely magnificent.
I actually like what you’ve acquired here, certainly like what
you are saying and the way in which you say it. You make it entertaining
and you still take care of to keep it wise. I can’t wait to read far more from you.
This is really a tremendous web site.