
When more than one exposure is combined into one image, it is called a multiple exposure. In the case of two, it’s a double exposure. Often used in fine art photography to lend the image a surrealist look or to enhance a sense of motion, it’s an unmistakable technique.
Done well, a double exposure can give a photograph just that edge it needs to bridge the gap between a great shot and an amazing work of art.
But how exactly do double exposures work? How can you make them yourself? And how can making use of this technique help bring an edge to your work?
This is going to be the topic of today’s guide. We will be analyzing in detail what double exposures and multiple exposures are, how they work, and how to utilize them to make your portfolio stand out.
We will also discuss all the important steps you need to be aware of and give you a few tips to help you practice effectively!
What is a Double Exposure?
First, let us lay down some unanimous definitions. A double exposure, as mentioned previously, is a photograph that combines two exposures on the same frame. Double exposure is not a diptych, where there is a matching couple of two separate exposures that are presented side-by-side.
Instead, with the double exposure, both frames are layered on top of each other.

How Does a Double Exposure Work?
Let’s explain in more detail by taking a look at how the exposure system works step by step.
Regardless of type, model year, brand, lens, or any other fine details, pretty much any camera exposes in the same basic way.
A shutter, which under normal conditions stays closed, is momentarily opened for a set time to let in light.
That light travels through the shutter opening to the photographic medium (digital sensor, film, plates, paper emulsion, what have you).
The medium is sensitive to light, so it leaves an imprint of the light that reaches it. This is ultimately what creates the photograph.
Now comes the important part.
Every camera has some kind of provision for advancing the frame. That is, allowing you to take multiple photographs in sequence. How this works exactly varies a lot, and we are going to discuss different approaches as necessary for different cameras below.
The idea is that by choosing not to advance to the next frame, you can expose the same, previously-exposed medium again to different light. Voilà, that’s a multiple exposure!
Double Exposures From an Artistic Point of View
To more easily picture the effect that this has, imagine you are using a sketch previously made by you or someone else as the canvas for a drawing of your own.
No matter how exactly you choose to realize your work, the two distinct images will eventually blend together.
How you choose to blend them is up to you, of course. Do you draw your image with the same kind of pen as the original, or a different color, size, or thickness?
Do you draw parallel to the existing lines or on top of them? Or perhaps you create a completely unique picture on top of the original?
Maybe you forgo the pen entirely in favor of watercolors, oil paint, or chalk?
The same level of freedom exists in photography in the case of double and multiple exposures.
In the next segment, we are going to talk about how to realize double exposures according to the type of camera you are working with.

How to Create Double Exposures: A Step-by-Step Guide
Though there exists a huge variety in terms of camera designs, nearly any photographic tool can be used to make multiple exposures – even a humble homemade pinhole box!
Let us take a close look at how double exposure photography can be achieved using some of the most widespread kinds of cameras, as well as a few that are more niche in design.
Creating a Double Exposure With a DSLR
The venerable DSLR might already be enjoying its swansong, but there are still loads of photographers worldwide who rely on a digital single-lens reflex camera for the bulk of their work.
On most DSLRs, double exposures are a built-in feature, though you should make sure to refer to your specific camera’s manual to confirm.
Don’t despair if your DSLR isn’t capable of creating double exposures natively – we will be taking a look at out-of-camera double exposures later on!
In order to make an in-camera multiple exposure, you usually take your desired number of individual exposures in the usual manner first. You can then combine them afterwards using a special camera menu.
In some cases, this feature might only be available for RAW files.
The camera might also allow you to play with the exposure gain setting. That is, it will allow you to change the degree to which the individual frames are blended together.
This is very useful if you want to create an asymmetrical multiple exposure, where one image stands out more or less strongly.
How to Make a Double Exposure with a Mirrorless Camera
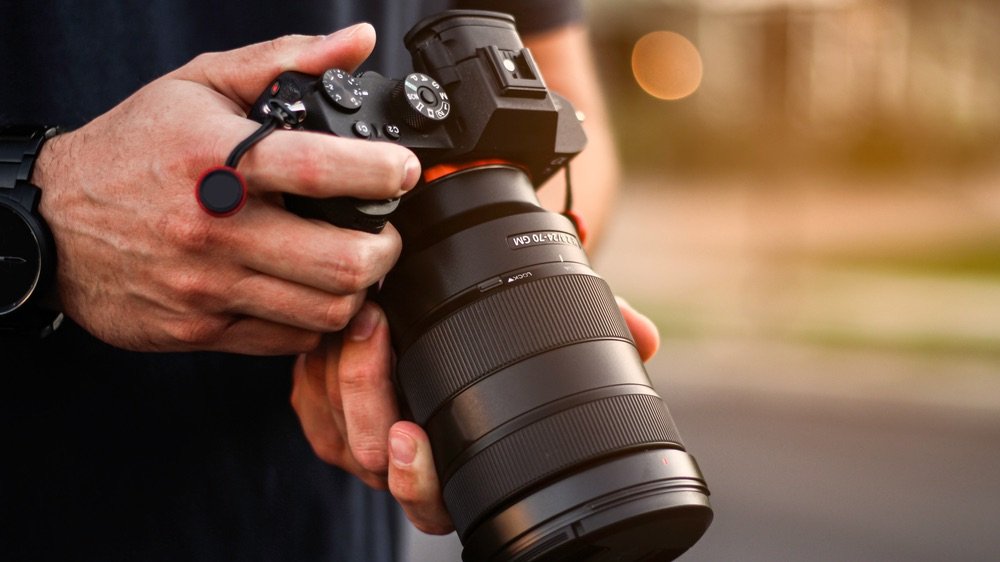
Mirrorless cameras, especially MILCs (mirrorless interchangeable-lens cameras), are taking the photographic industry by storm, and for valid reasons. They exchange the simplicity and convenience of the optical viewfinder of a DSLR for advanced composition and exposure features not available on other kinds of cameras.
Some of these can be very helpful when taking multiple exposure images, which the majority of MILCs nowadays support natively.
For instance, a common feature on Nikon Z series and Canon R series cameras nowadays is a real-time image overlay.
This works by superimposing a photo of your choice over the electronic viewfinder image. That way, you can experiment with composition and sketch out your double exposure before taking the second shot.
In most other respects, making multiple exposures in-camera with a MILC works the same way as with any other digital camera.
How to Create a Multiple Exposure Photograph Using Film
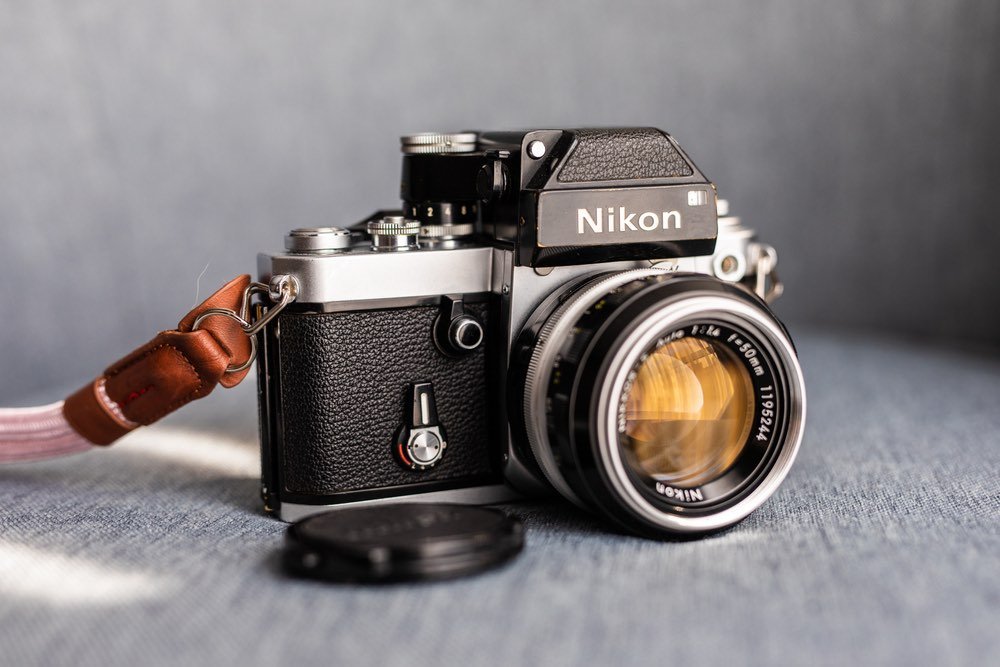
After a period of neglect and claims of obsolescence, film photography has successfully re-established itself as a viable alternative to the dominant digital medium. Especially in fine art photography, film is experiencing a real renaissance nowadays!
Most regular users stick to the tried and true 35mm format. 35mm is a roll film, and it usually comes in 36, 24, or 20 exposures per roll.
Though it is possible to make out-of-camera multiple exposures across different rolls of 35mm film by printing two negatives onto the same printing paper, it is much easier to do in-camera and between frames on the same roll.
How this works exactly will depend on your camera, and the easiest way to find out is always to consult the user’s manual.
Method One: Making Double Exposures Without Multiple Exposure Prevention
In more general terms, film cameras can broadly be divided into two camps based on what kind of double exposure technique they allow for.
The first camp mostly includes antique film camera designs. These usually have separate controls for winding the film ahead and for cocking the shutter.
This means that making multiple exposures is often just a matter of remembering not to wind the film and firing the shutter a second (or third, or fourth…) time in a row.
You can layer as many images as you would like this way. All you need to do to finish the sequence is to turn the winding knob or lever when you’re done.
Method Two: Making Double Exposures With Multiple Exposure Prevention
As you can imagine, the simplicity of the above mechanism is both a boon and a potential pitfall, since it allows for easy accidental double exposures.
This is why later camera designs tend to include some kind of double exposure prevention mechanism. This includes practically all modern SLRs and most cameras made since the end of World War Two.
Either one lever controls both the film winding and shutter cocking mechanisms, or a separate lock prevents the user from shooting two frames in a row without advancing first. Some cameras might even employ both.
To make deliberate double exposures, you will need to circumvent any such mechanism that your camera might have.
Some make it easy, with a simple hidden switch, lever, or button that just needs to be activated in order to allow multiple exposures. Turn it off again to continue with the rest of your roll.
In other cases, you might need to use a little bit of ingenuity. A classic trick is to shoot your first exposure, wind and cock the shutter, and then rewind to land on the same frame you just shot.
This takes practice and a certain sixth sense since there is no easy way to tell exactly how far you’re rewinding. However, with a little bit of persistence, it is very much possible to train yourself to do this reliably.
Multiple Exposures on Medium and Large-Format Film
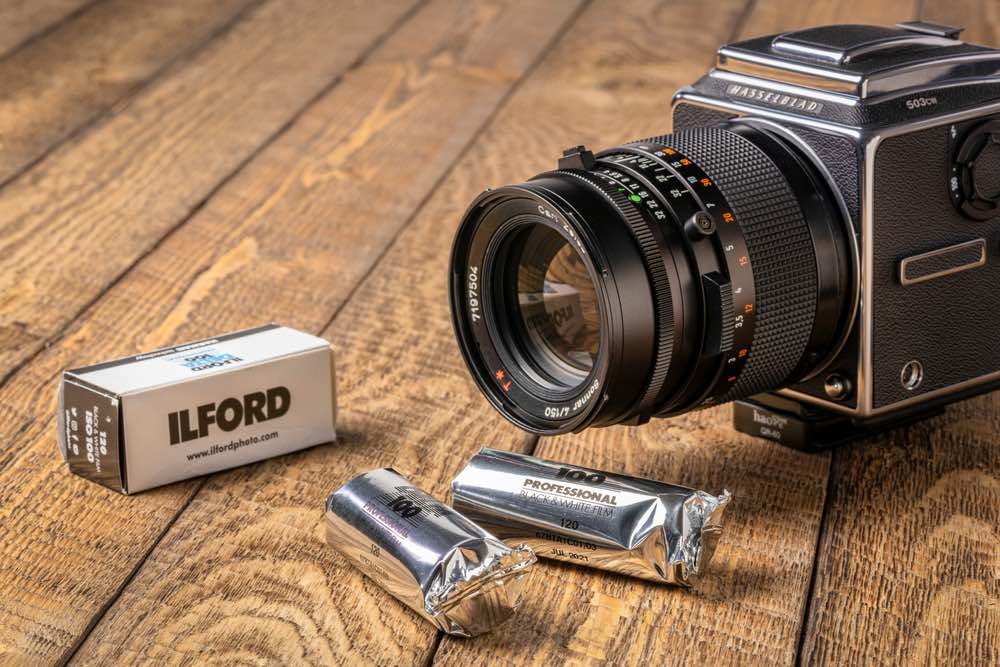
Films larger than 35mm, such as the popular 120 and 4×5 formats, are another fine medium to use for multiple exposure photography. The extra negative real estate definitely helps to elevate medium and large-format multiple exposure photography above the rest!
On most modern 120-format cameras, making double exposures involves the same basic steps as described above for small-format film.
However, medium-format cameras inherently lack a rewind mechanism. Hence, the last method described earlier will not apply.
Thankfully, there is an easy alternative. Most medium-format cameras made before the 1970s or 80s use a manual winding system assisted by a red window, with separate shutter cocking and film wind controls that aren’t inter-locked.
On such a camera, making double exposures is as simple as advancing to a frame of your choice using the red window, taking your first shot, and then taking your subsequent exposures without winding ahead in between.
Large format film, on the other hand, is usually not packaged in rolls, but in single sheets contained in sheet holders. In this case, taking multiple exposures is as easy as it can get.
Simply expose your first shot, and then re-set the shutter and dark slide, re-compose, and take your second shot without removing the film sheet. Swap it out for a blank one when you’re done and ready to advance to the next photo.
How to Make Multiple Exposures Out-of-Camera
What if your camera does not support any of the means of making double exposures described above? In that case, you will need to create multiple exposures out-of-camera.
Note that we will be using a digital workflow as an example here, as the traditional analog printing process is so different and so involved as to deserve a guide all of its own.
Making double, triple, or any other kind of multiple exposures in post-processing is actually very straightforward.
Select your individual files, open them as layers in your software of choice, and set all layers as visible. You can then fine-tune blending options using the same ‘gain’ and ‘opacity’ parameters that some cameras offer in-menu, in addition to others.
For a detailed overview of all the many possible settings and parameters in photoshop, see this guide.

Tips for Double Exposure Photography
Now that the technical background behind double exposures is clear, let’s take a look at how we can utilize multiple exposures to our advantage! Below, you’ll find a selection of tips, tricks, and handy techniques to practice and improve your confidence in double exposure photography.
1. Dark Before Light
This is a neat mantra to recite in your head as you are composing your multiple exposure photographs. Its meaning is straightforward. As you layer a frame on top of another, the exposure values of the top layer essentially get added to those of the bottom layer.
In other words, if you start with a very light, highly exposed base photo, it is very difficult to avoid an overblown, overexposed double exposure result.
It’s much easier and usually looks nicer to start with a relatively dark, lowkey scene and layer it with lighter details.
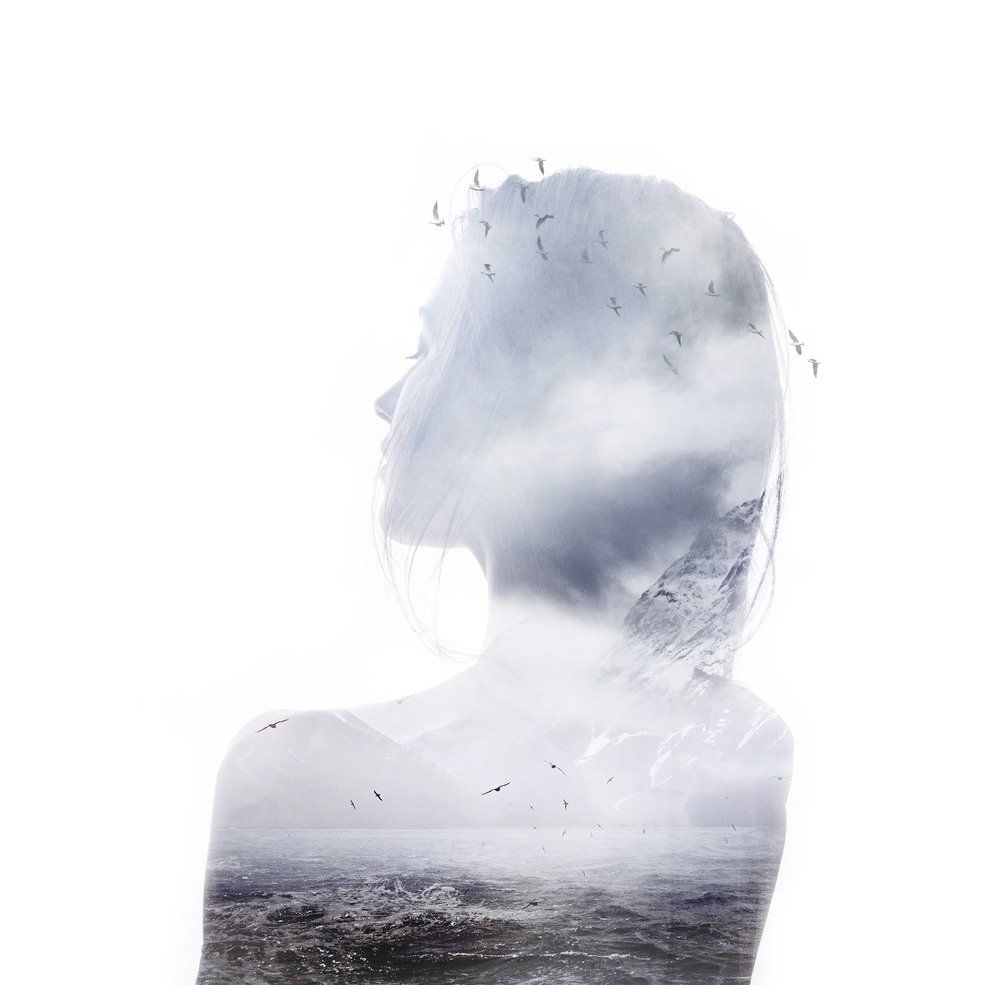
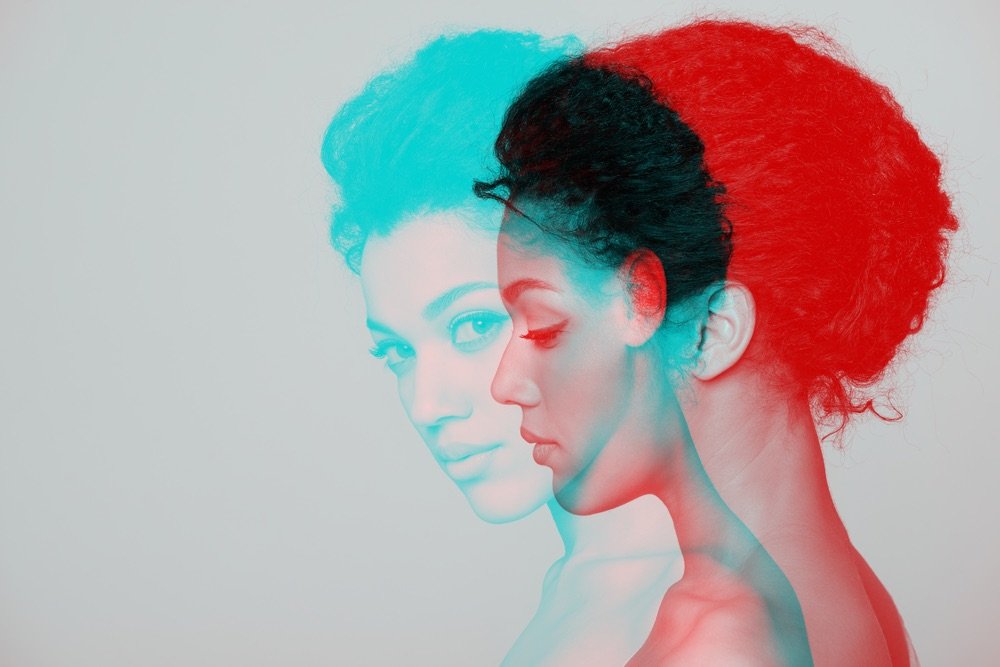
2. Try a Double Portrait

Double exposures can look incredibly interesting when both frames feature the same subject. A cool example is a double portrait, like the one above.
Instead of focusing on bringing out your subject’s best singular features, try to approach the double portrait as a means of highlighting some of the many facets of what makes your subject unique.
3. Work With Silhouettes
You might notice that it’s hard to keep colors and solid shapes from clashing with each other while composing multiple exposures.
Again, the best thing you can do is to think more carefully about your layering.
Try combining thin, fine shapes including silhouettes. Larger subject bodies can take up too much of the frame and make it look messy.
4. Play With Shadows
Just like silhouettes, shadows can also make for really interesting, tasteful multiple exposures.
This doesn’t have to mean anything grand! Even a landscape scene or a still life with a few shadows from another scene superimposed over it can be stunning if done right.
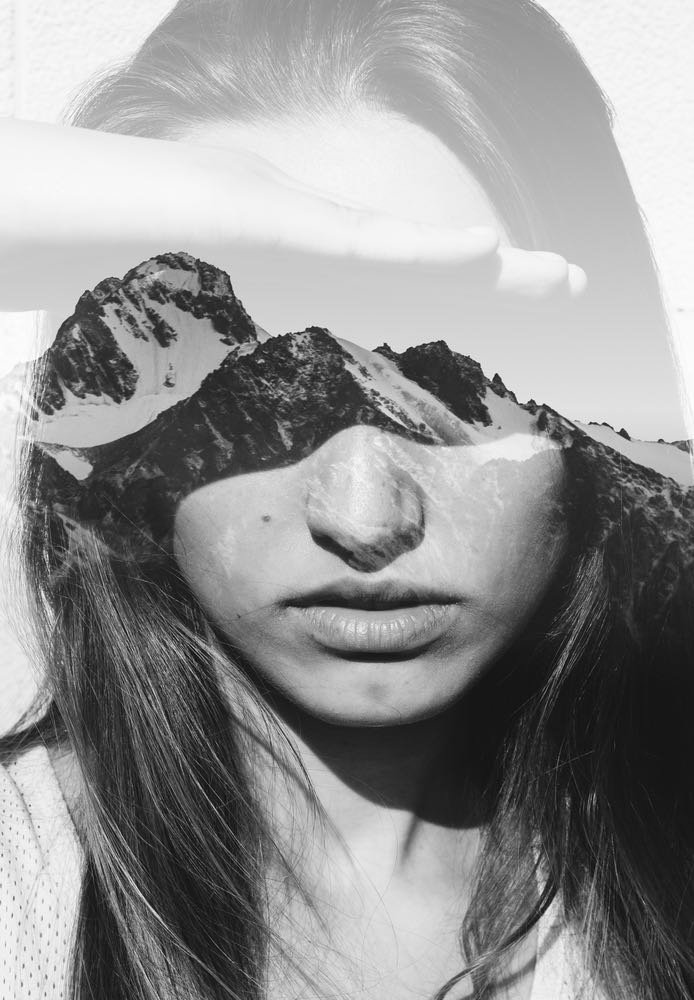
5. Use Double Exposure to Communicate Motion
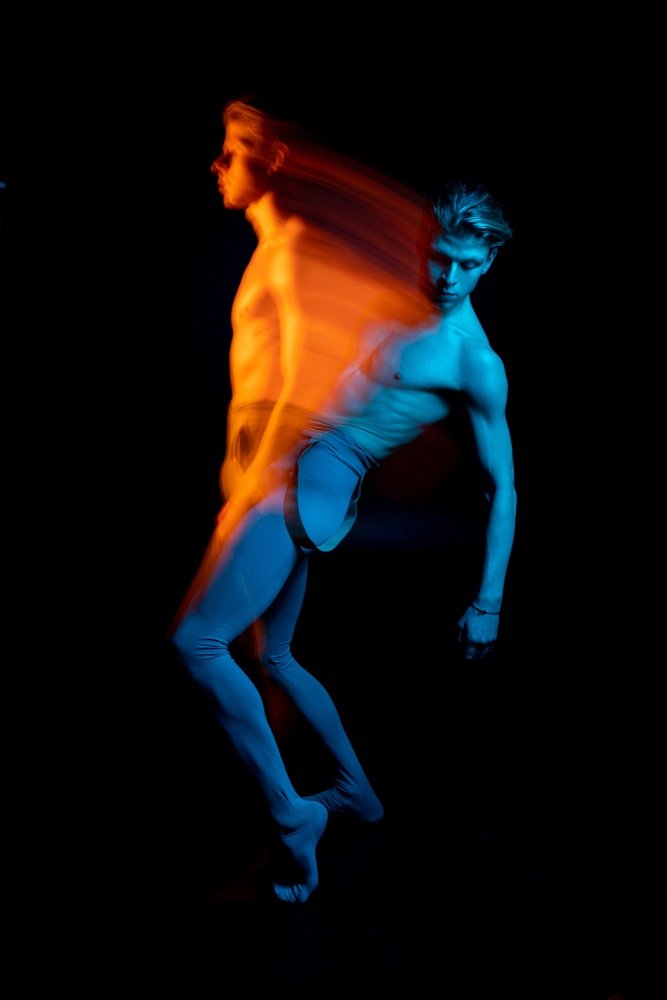
Multiple exposures can help communicate the movement of your subject in a unique, surrealist way.
This is one of the harder elements to get just right. At the same time, a little bit of practice can go a long way, so we encourage you to experiment!
Consider a double portrait of a dancer as an example, like above. Note how the photographer used a slow shutter speed for only one of the two exposures. This way, they visualized the dancer’s steps almost as though they were moving within the photograph in real-time.
6. Make Use of Subtle Changes
The differences between your double exposure images don’t have to be drastic. In fact, it can be artistically more challenging yet technically more approachable to focus on finer contrasts and small elements of change.
Think about layering two exposures of the same environment or subject at different times of day, or in different lighting, clothing, weather conditions, and so on.
Conclusion
We hope that this introduction to the world of double and multiple-exposure photography serves to pique your curiosity and allow you to begin experimenting artistically and professionally with this technique.
Not only can double exposures be used to great effect as a narrative element, but they are also useful for lending an air of surrealism to your compositions.
Now, we would like to hear from you! What have you used double exposures for in the past? Which kind of multiple exposure is your favorite? What did we miss? Feel free to let us know in the comments below!


