Shooting portraits may seem easy (after all, you often have a single subject who should take direction from you with no issues!), but it can be trickier than you think to get the perfect shot and make sure your subject looks their best.
So, how can you do it? Check out these 14 essential portrait
Pre-Shoot Tips for Portrait Photography
1. Find Out the Rules of Engagement
Why does your subject want a portrait? Are there specific rules you’ll need to abide by? For example: for a senior portrait, the school may have specific requirements to accept the photo for yearbook use.
2. Get to Know Your Subject’s Personality
Is your subject serious or sassy? Outgoing or reserved? Getting a feel for their personality will help ensure you capture their essence.
3. Make Sure You’re Familiar With the Location
What will the lighting be like? Will you need supplemental lighting? Will the subject be looking into the sun and end up squinting? Will the location serve as an appropriate backdrop or will you need to bring some kind of drape or backdrop?
4. Encourage Your Subject to Bring Multiple Clothing Options
Depending on location, background, reflected lighting, and more, your subject’s first clothing choice may not be as ideal as they first thought. Plus, if time permits during their shoot, they can have additional photo options in different outfits.

Posing & Positioning Tips
5. Focus on the Eyes
The eyes, as they say, are the windows to the soul. Also, if the eyes are unfocused or hazy, the portrait often looks “off.”
6. Put Your Subject at Ease
If your subject is stiff, their photo will be, too. Help them relax by talking about something they love, playing a song that helps them find their happy place, or just taking a short break. Sometimes candid shots yield better results than hours of posing.
7. Frame Your Subject
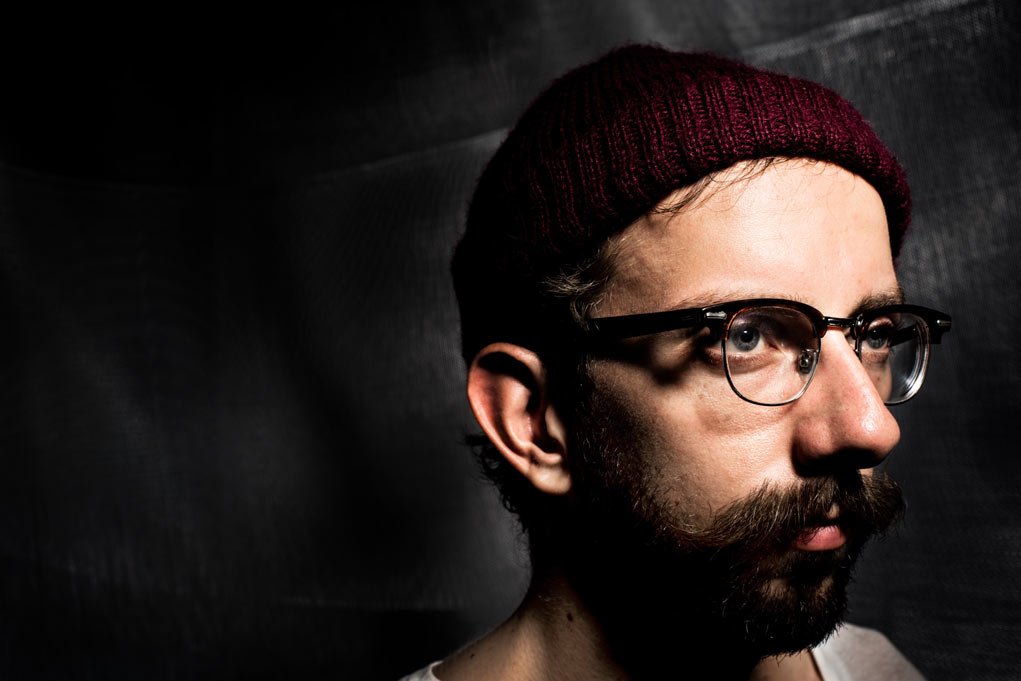
To ensure the subject is, well, the main subject of the photo, you can “frame” them with environmental elements. Posing in a window or doorway is one way to do this. Another is to shoot them in an area of light with shadows around the edges, creating a natural spotlight. Framing your subject is key to any successful portrait or headshot photograph.
8. Bring a Few Props
You don’t want to get too kitschy here, but a few props (a stool, a ball, something that’s aligned with your subject’s interests) can give you options during your shoot. Props can be useful even if they don’t make it into the final photo. Sometimes, having a subject sit or dribble a soccer ball helps them release their nervous energy so you can get a great shot.

Camera Settings
9. Shoot in RAW Format
Is there any other way to shoot? (Technically, yes, but please don’t use them here!) When it comes to creating quality images and giving yourself the most flexibility in post, RAW images are the way to go.
10. Check (and Recheck) Your White Balance
Don’t depend on auto white balancing here! Reflected light can have a big effect on your camera when it is trying to automatically white balance. A white balance card is a simple, inexpensive, invaluable tool that will help you both onsite and in editing.
11. Select Your Lens Carefully
It’s a basic rule of
12. Try a Short Depth of Field
You don’t want the photo to capture too many distracting background elements. A short depth of field allows for visual interest without creating too much noise, so the focus stays where it should be!

Editing
13. Color Correction is Key
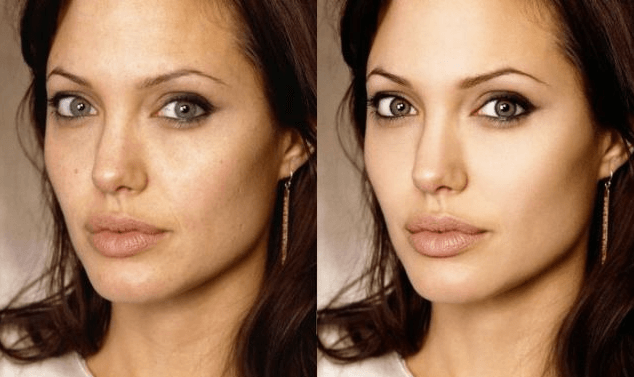
By using your white balance card, you’ll have a head start on color correction in post-production. If you had a lot of strongly colored reflected light (like you might get from lush green plants), you may need to color correct by parts, like isolating the face or skin. Good photo editing software, like Adobe Lightroom, will allow you to do this.
14. Keep Everything, But Offer Selects
If you shoot hundreds of frames during your shoot, it would be overwhelming to ask your client to sort through all of them. As you color correct and edit, pull the ones you think are the best: both those that are representative of what they asked for and those that stand out just because.


I like these courses, they help a lot.
thank you!!! so much